Power AppsからPower Automateにパラメーターを渡す方法
Power AppsとPower Automateは親和性が高く、Power AppsからPower Automateに引数を渡すことができます。
例えば、ユーザーにPower Apps側でデータを入力させ、Power Automate側で処理をし、Power Appsに値を返すことができます。
まず、概要です。
概要
- Power Automate側で[Power Apps(V2)]トリガーを準備し、引数を設定
- Power Automate側で引数に対して任意の処理を実施
- Power Apps側からPower Automateを呼び出し、引数を渡す ※Runの引数を指定
STEP1: Power Automate側で[Power Apps(V2)]トリガーを準備
まずPower Automate側で[Power Apps(V2)]トリガーを準備します。
作成部分から手順を書きます。
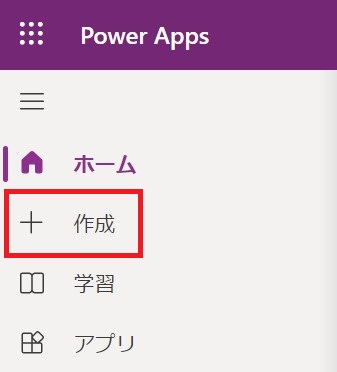
まず、Power Automate > [+作成] をクリックします。
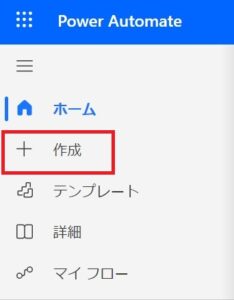
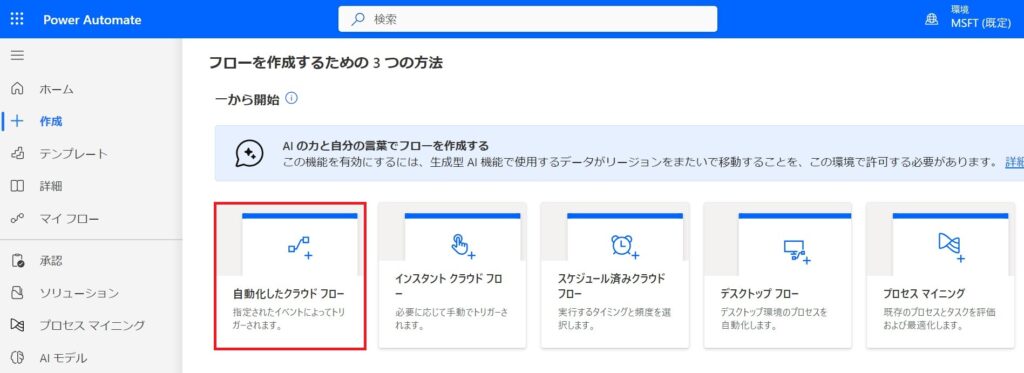
[自動化したフロー]をクリックします。
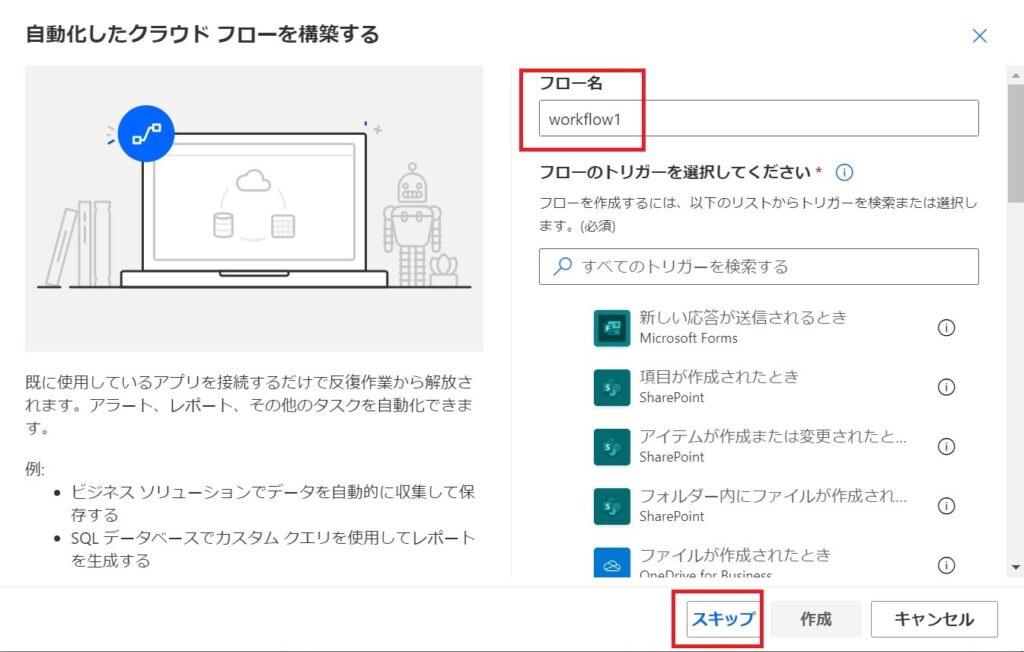
任意のフロー名を入力し、[スキップ]をクリックします。
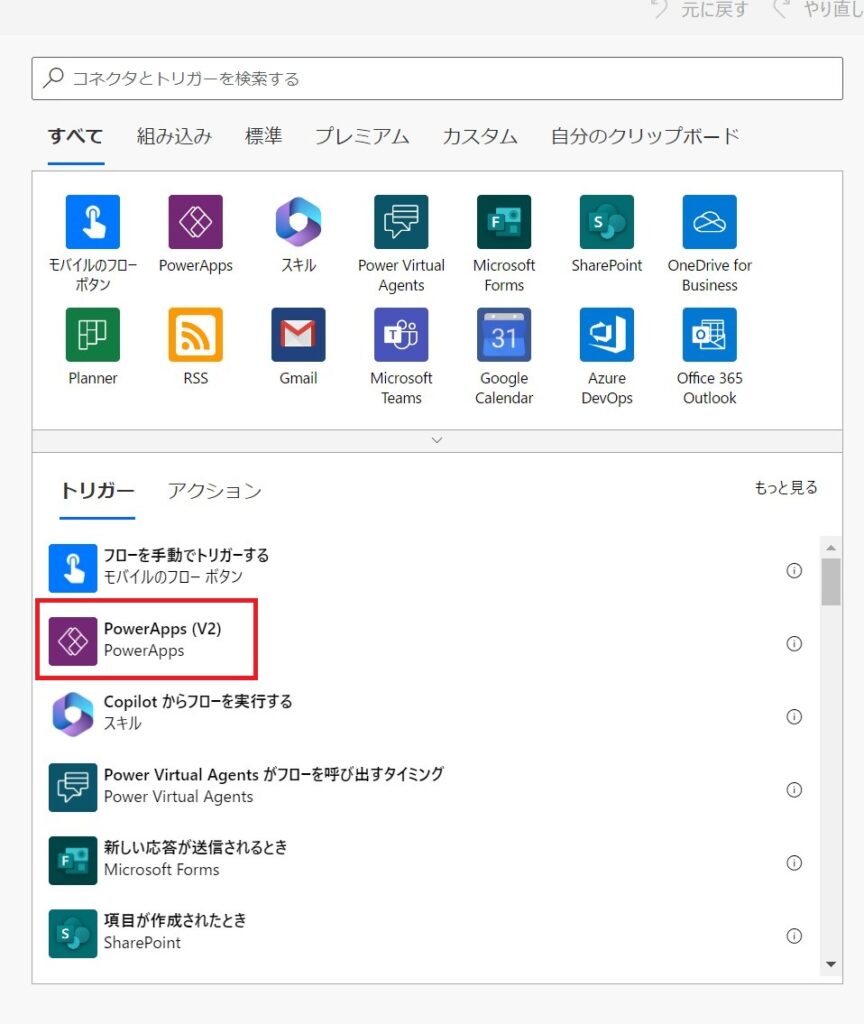
トリガーで[Power Apps(V2)]を選択します。
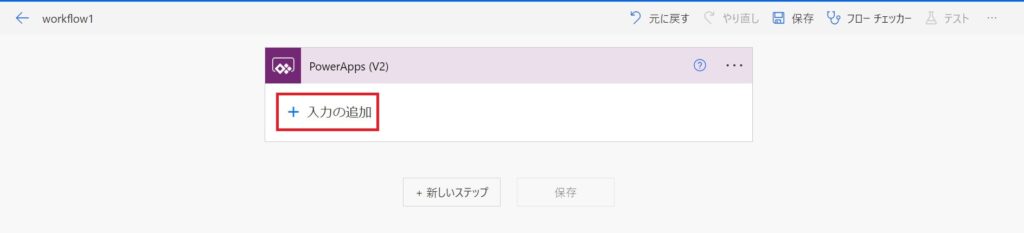
トリガー[Power Apps(V2)]で[+入力の追加]をクリックし、Power Apps側から渡される引数を設定します。
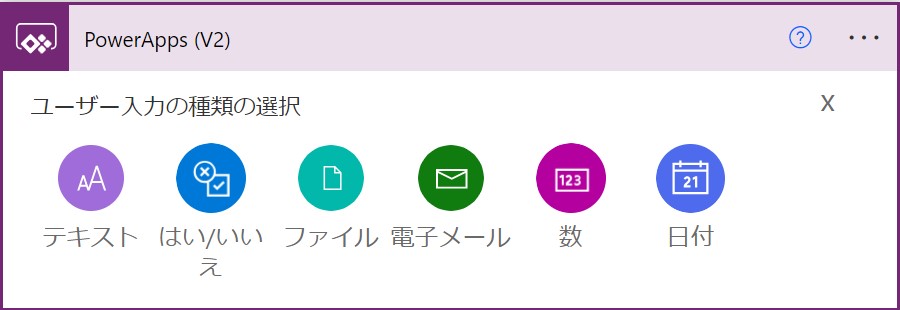
引数の型を選択します。
今回は「数」を選びました。
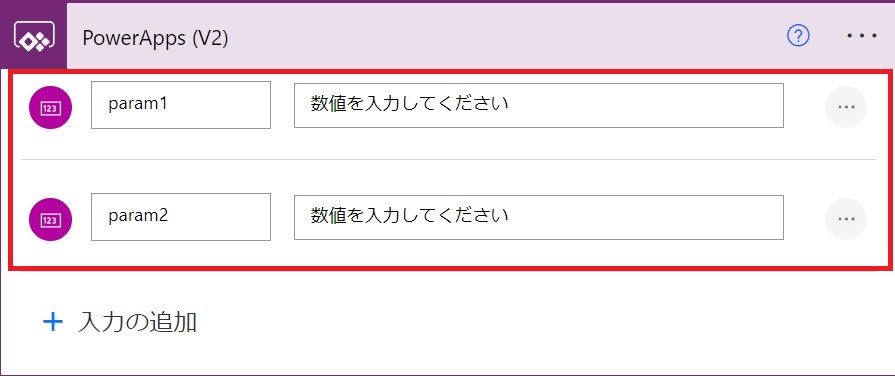
「param1」と「param2」というパラメーターを2つ作成しました。
これで、Power Automate側の準備は完了です。
STEP2: Power Automate側で引数に対して任意の処理を実施
どんな処理でも構いません。
今回は、数値の足し算をしてみます。

[変数を初期化する]アクションで、numAnser変数に、param1とparam2を足した数を設定しました。
足し算はadd関数で行います。
add(param1, param2)と指定します。
STEP3: Power Apps側からPower Automateを呼び出し、引数を渡す
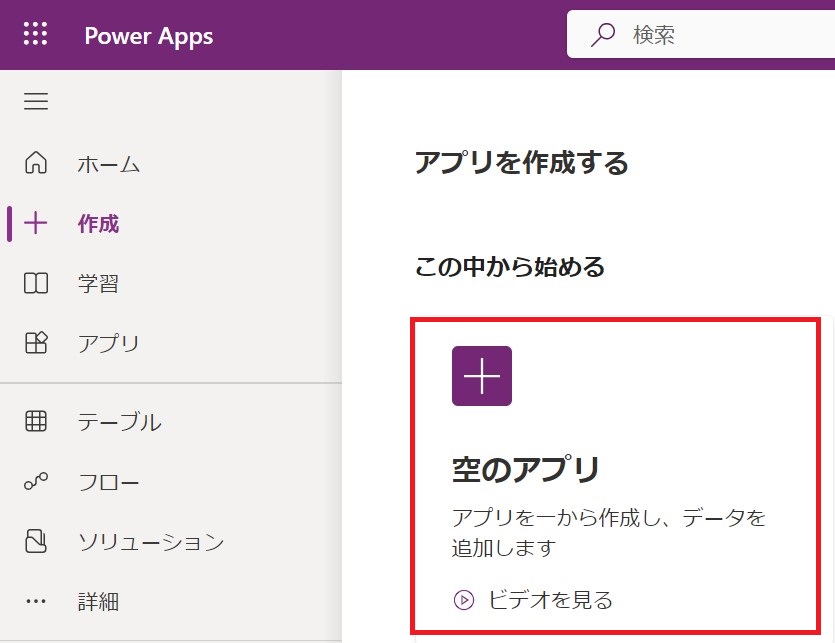
Power Apps < [+作成]をクリックします。
[+空のアプリ]をクリックします。
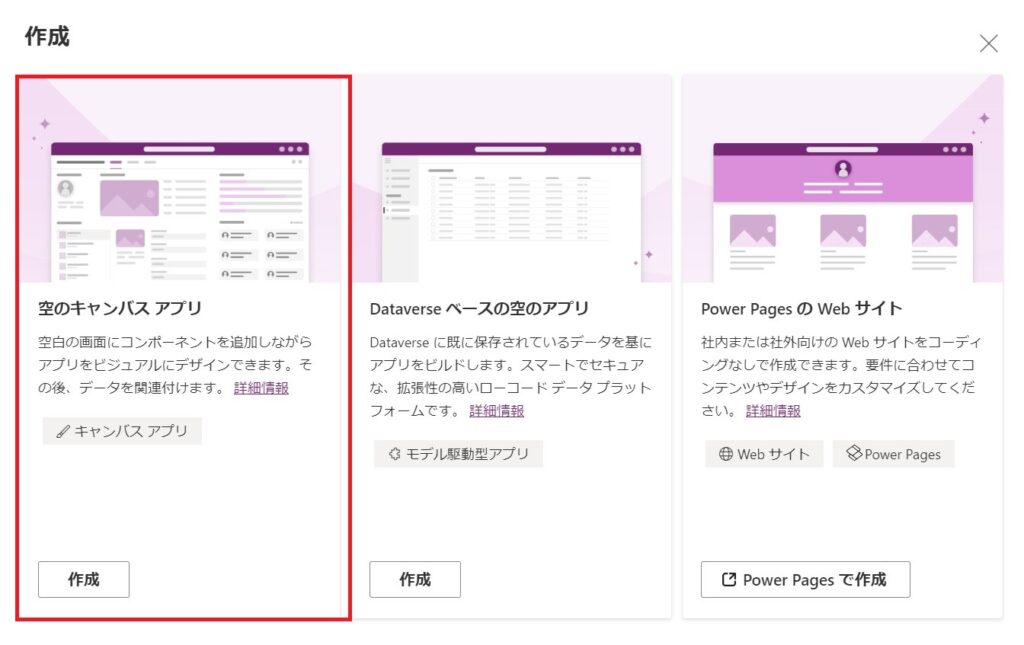
[空のキャンバスアプリ]を選択します。
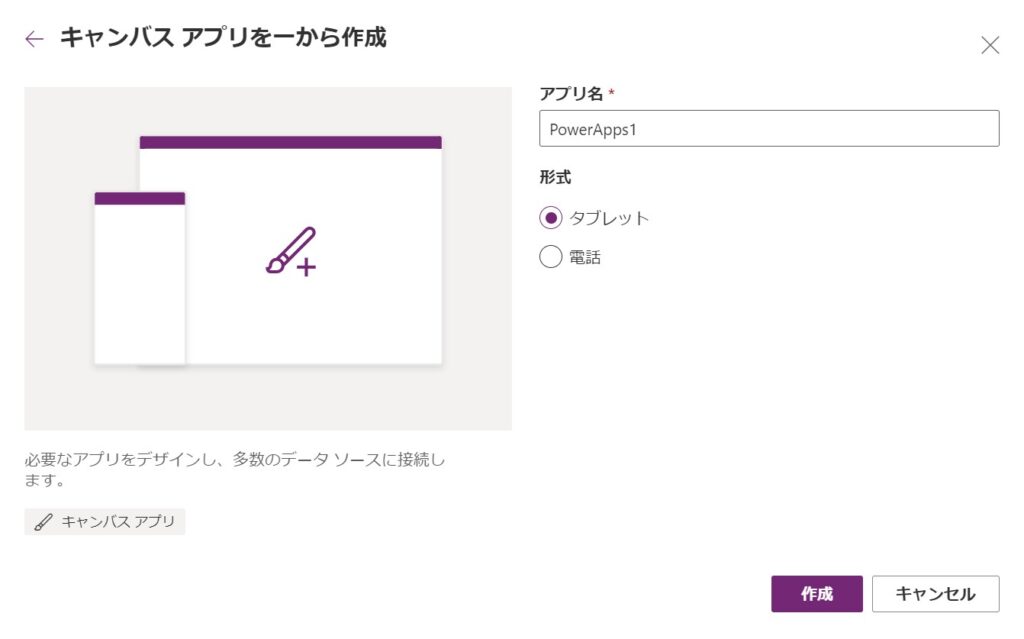
アプリに任意の名前をつけます。
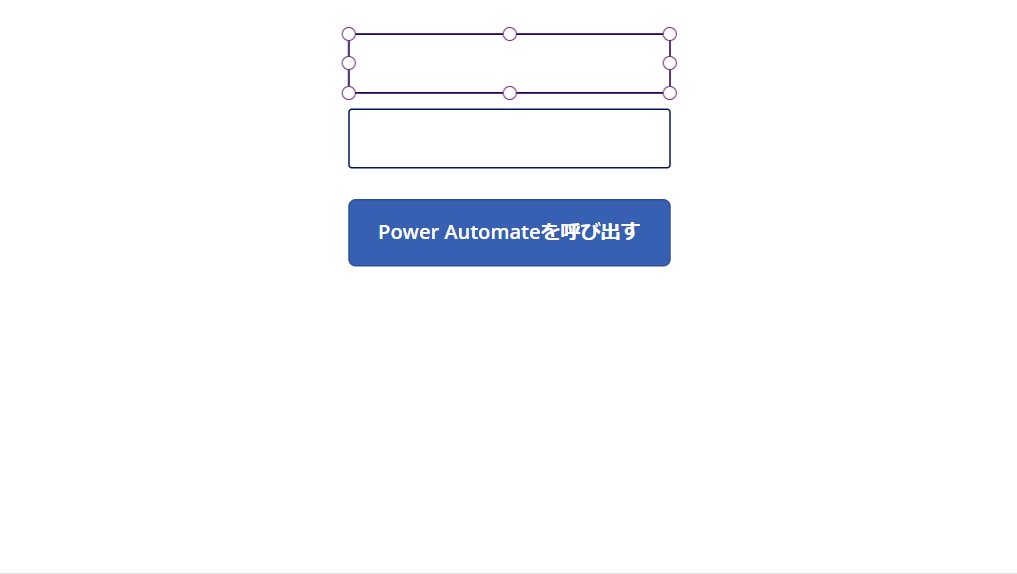
キャンバスアプリに任意のコントロールを置きます。
今回は、ボタン1つと、テキスト入力を2つ置きました。
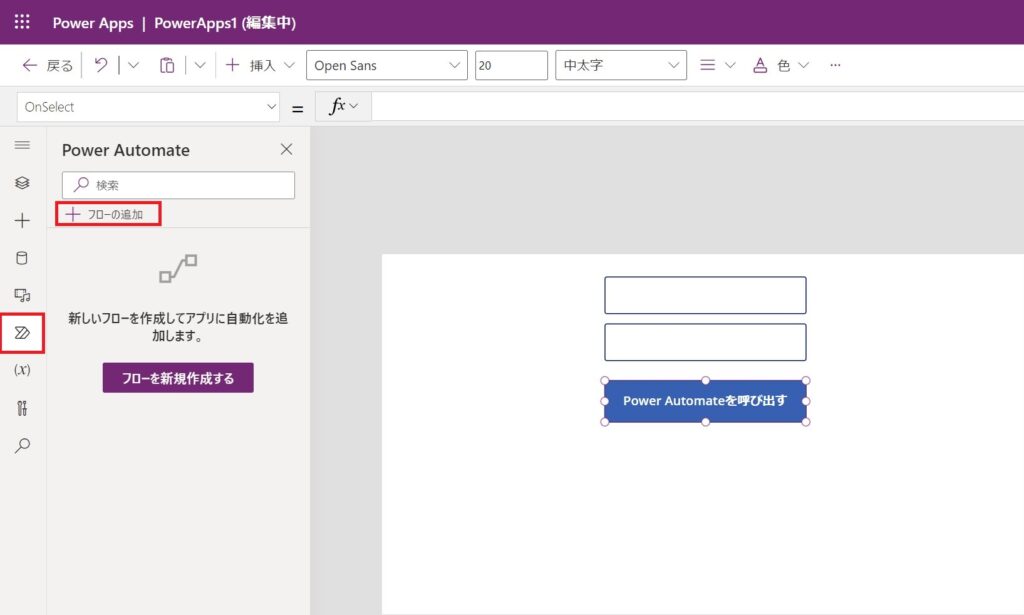
Power Automateアイコンをクリックし、[+フローの追加]をクリックします。
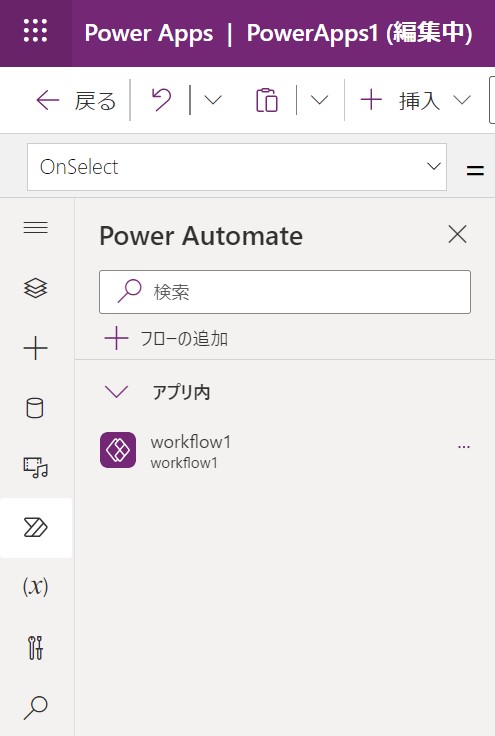
先ほど作成したPower Automate([Power Apps(V2)]トリガーのもの)を追加します。
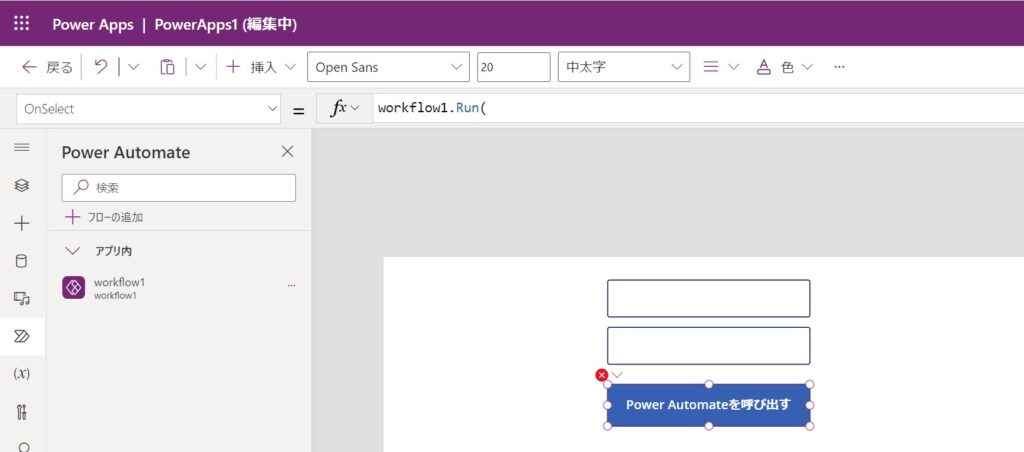
ボタンをクリックした際にPower Automateを実行するため、ボタンのOnSelectプロパティに
ワークフロー名.Run
と入力します。これで、Power AppsからPower Automateを実行することができます。
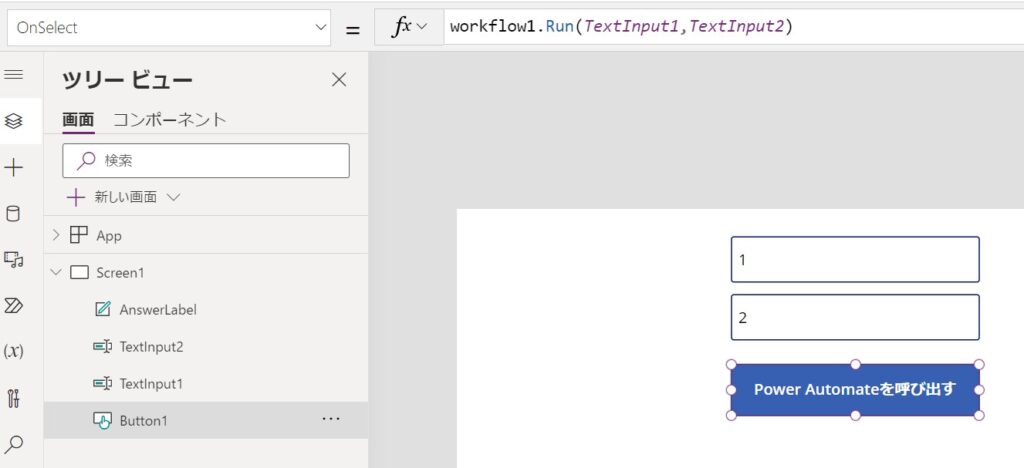
workflow1はパラメーターが2つあるので、Runの引数にパラメーターを2つ指定します。
この処理では、Power AppsからPower Automateに引数の値を渡すだけで、Power Automateからの戻り値をPower Appsで受け取る処理はしていません。
Power Automateからの戻り値を受け取る処理は別記事で書きます。